Care 8 min read
How to Season Cast Iron in the Oven (Step by Step)
Wash, dry hot, oil every surface, wipe it all off, bake upside down at 475°F for one hour, repeat. The full oven-seasoning method — and why thin coats win.
This guide has product links. As an Amazon Associate, Seasoned Cast earns from qualifying purchases — it never changes what we recommend.
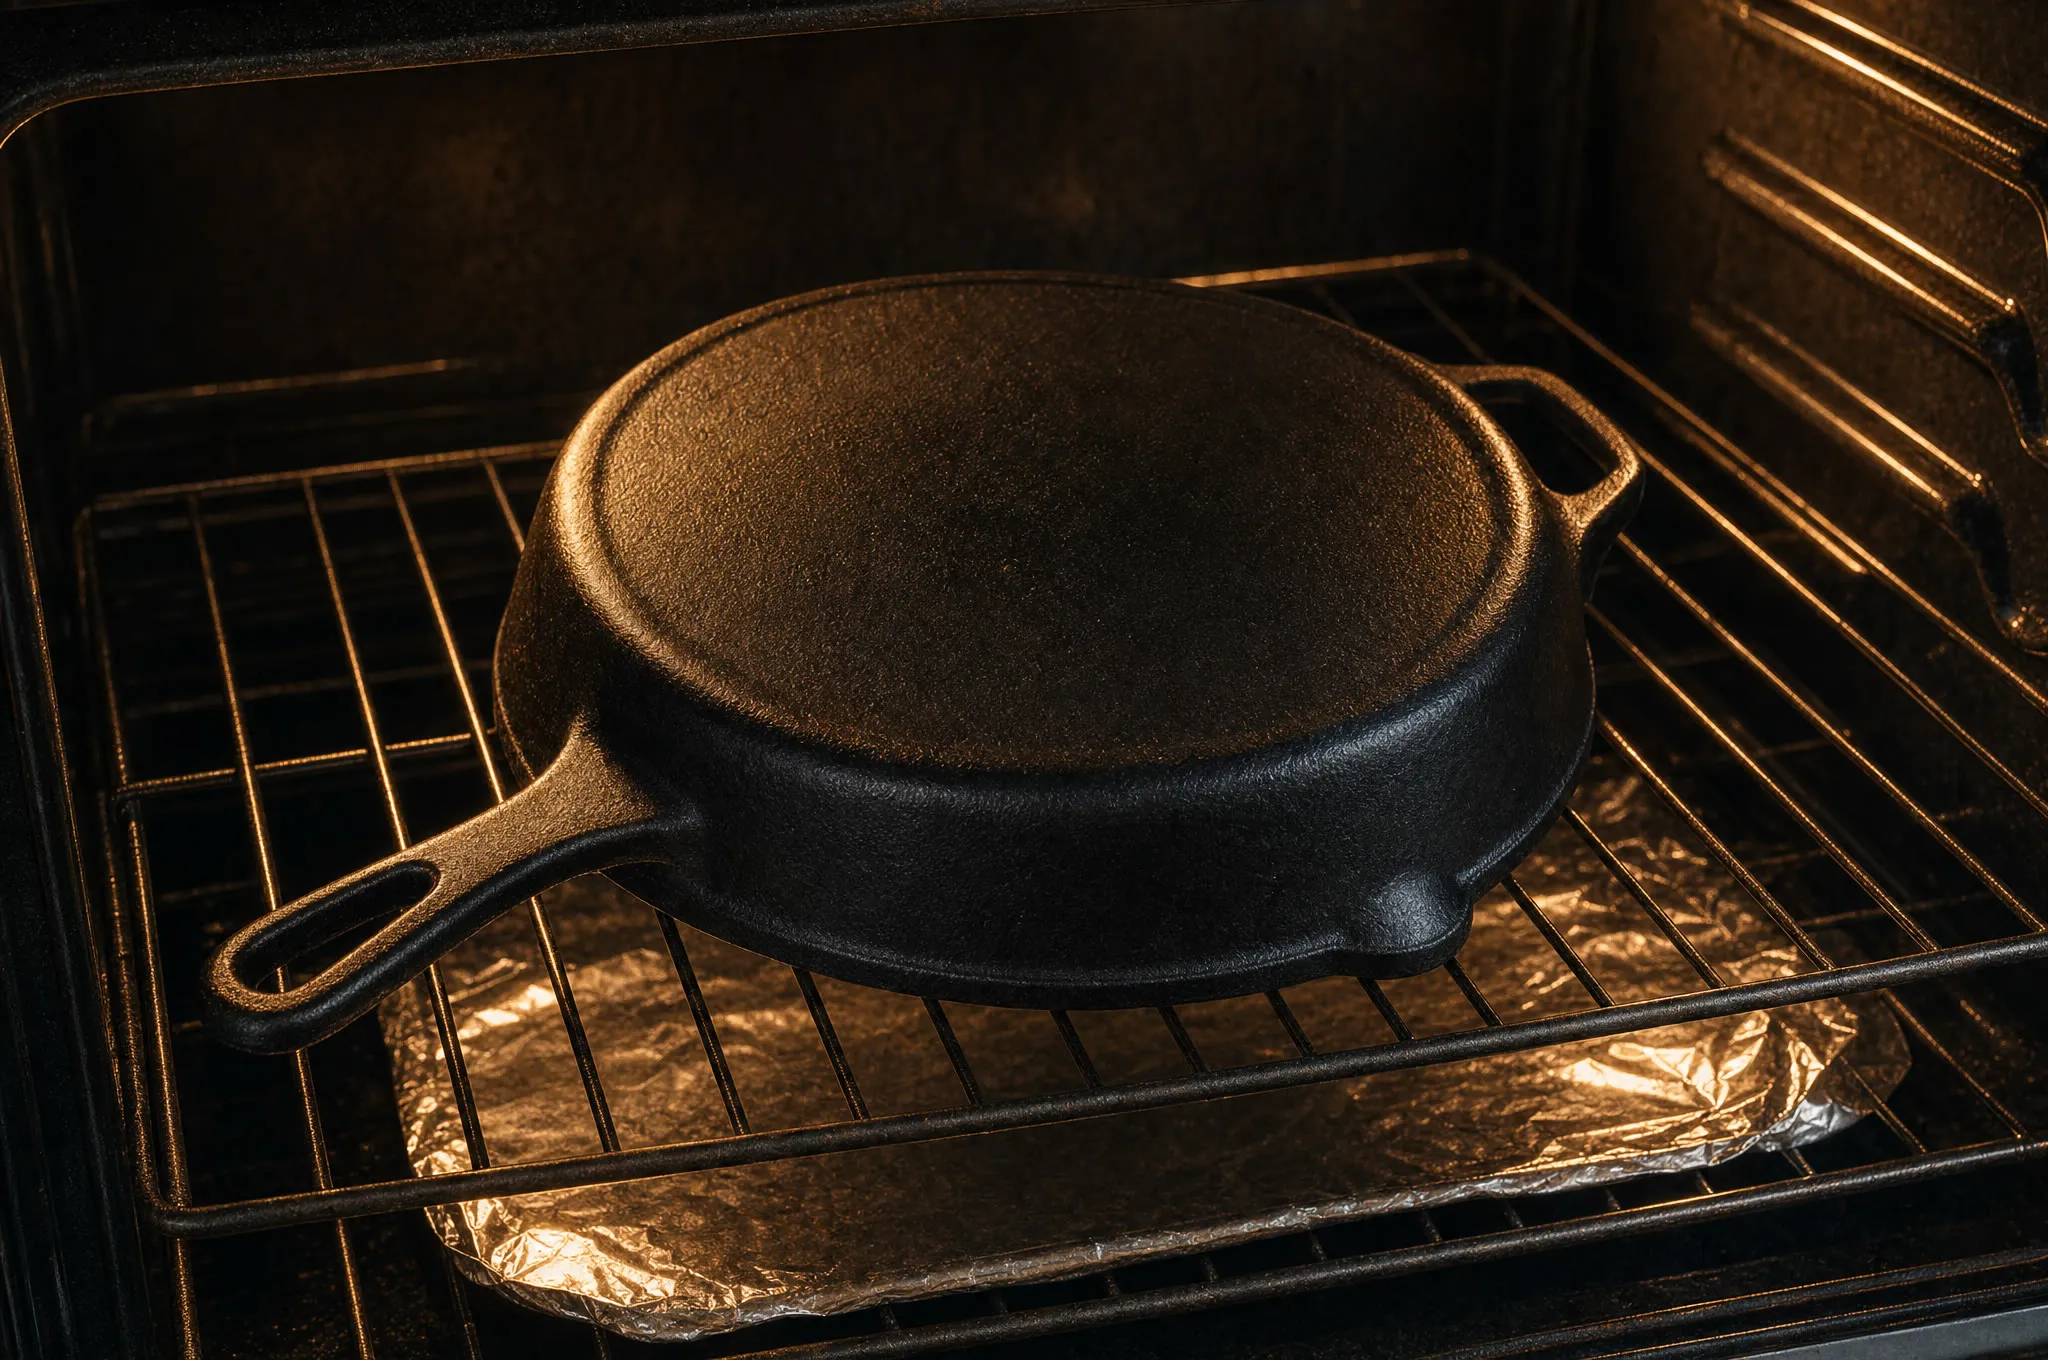
Seasoning cast iron in the oven takes one hour at 475°F, and the whole trick is using less oil than feels right. Wash the pan, dry it completely, rub a thin coat of neutral oil over every surface — walls, handle, bottom — then wipe it all back off. Bake the pan upside down for an hour, cool it in the oven, and repeat two or three times.
That’s the entire method. The rest is the walkthrough — what each step looks like while you’re doing it — and the plain-words science, because the rules are easier to follow once you know what they’re for.
What you need
- The pan — new, stripped, or just tired. Active rust gets handled first (see below).
- A neutral, high-smoke-point oil. Grapeseed, canola, avocado, or plain vegetable oil. Whichever is cheapest.
- Towels that don’t shed. Lint bakes into seasoning. Blue shop towels or a lint-free rag beat regular paper towels here.
- A sheet of aluminum foil for the rack under the pan.
- An oven that holds 475°F, and a window you can crack.
Hands-on time is about ten minutes per coat. The oven does the rest.
Step 1: Wash the pan
Warm water, a squirt of dish soap, a stiff brush or the rough side of a sponge. Soap does not destroy seasoning, and on a pan headed for a 475°F oven it matters even less. The point is a clean start: cooking residue, dust, and old surface oil all get between the new coat and the iron.
New pan? Wash it anyway. Factory pans ship with dust and handling residue you don’t want baked in.
Step 2: Dry it on a burner, not just with a towel
Towel-dry the pan, then set it on a burner over medium heat for a few minutes until every trace of water is gone. Damp iron looks dark and blotchy; dry iron looks uniform and dusty-gray. Water hides in pour spouts and in the corner where the wall meets the floor, and water you can’t see is how rust starts.
The burner does one more thing: a warm pan takes oil thinner — it spreads into the surface texture instead of sitting on top. Kill the heat once the pan is fully dry. You want it warm to the touch for the next step, not smoking hot.
Step 3: Oil every surface — walls, handle, bottom
Pour in a small splash of oil — half a teaspoon covers a 10- or 12-inch skillet — and rub it over everything with a towel: the cooking surface, the walls, the pour spouts, the handle, and the entire outside, bottom included. The outside of a pan rusts just as readily as the inside, and a seasoned exterior is the difference between a tool and a future project.
Step 4: Wipe it all off
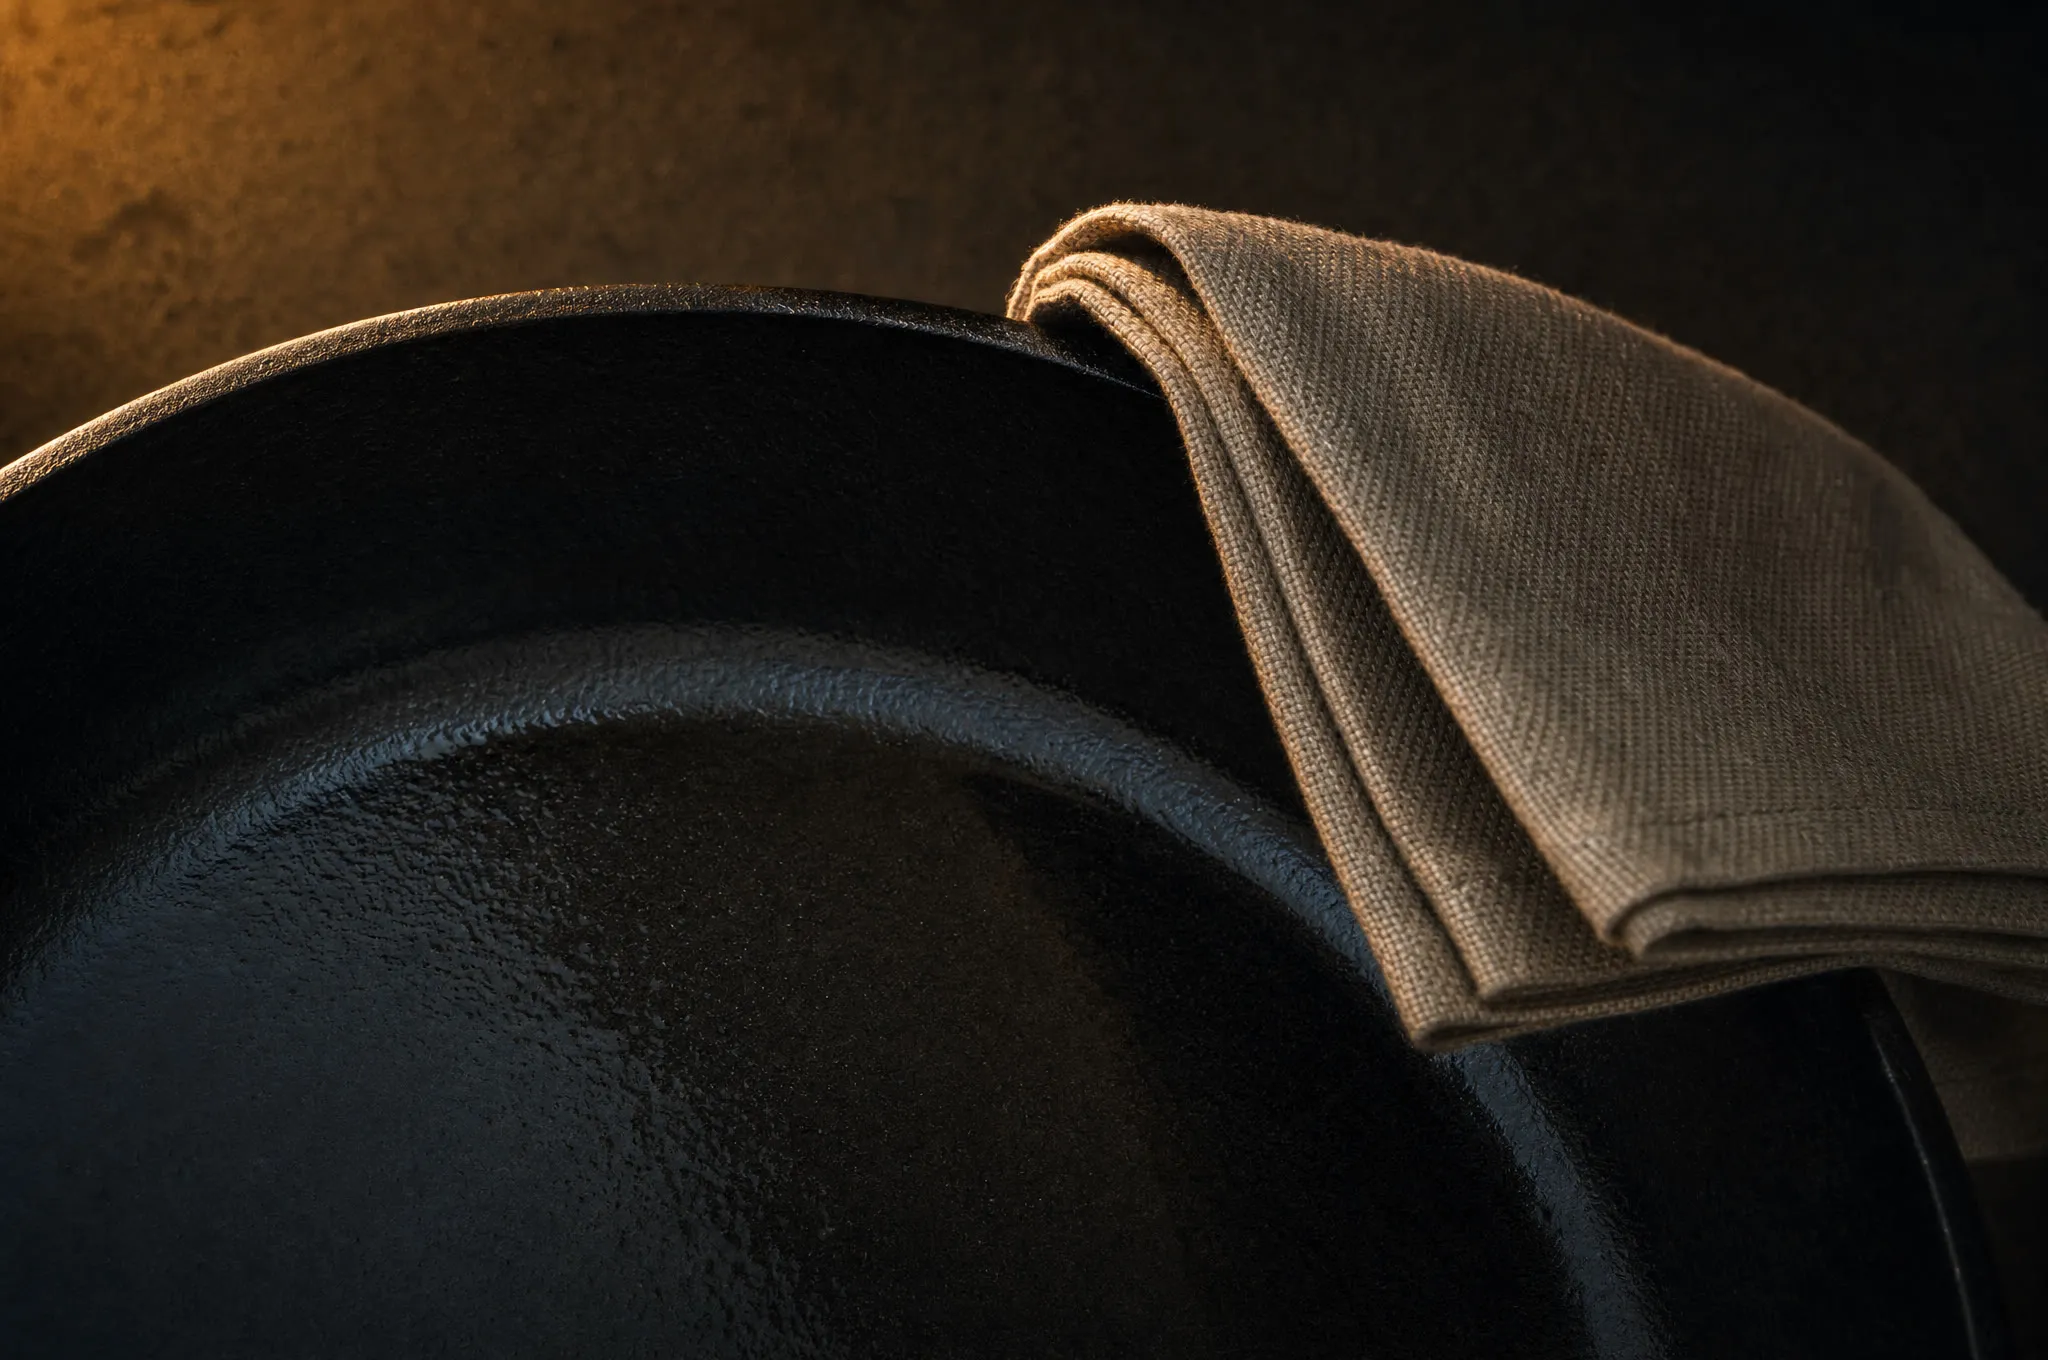
Take a fresh, dry towel and wipe the oil back off. All of it, everywhere you put it. Wipe like you regret applying it.
The pan should look dry when you’re done — a faint satin sheen at most. If you can see shine or streaks, keep wiping. The microscopic film that survives a hard wiping is the correct amount for one coat. It will not feel like enough. It is.
Step 5: Upside down in a cold oven, foil underneath
Set the pan upside down on the middle rack, lay foil on the rack below it, and set the oven to 475°F with the pan already inside. Starting cold isn’t about protecting the pan — cast iron doesn’t care. It just lets the coat heat evenly with the oven while any stray excess thins and drips onto the foil.
Upside down is non-negotiable; the reason is gravity, covered below.
Step 6: One hour at 475°F
Once the oven reaches temperature, bake for one hour. Somewhere in the middle you’ll smell hot oil and maybe see a light haze — that’s the oil crossing its smoke point and hardening, which is exactly what you came for. Crack the window and let it work. A pan that smokes while you’re cooking is a different situation with different causes — that one’s covered in why is my cast iron smoking.
Step 7: Cool it in the oven
Turn the oven off and leave the pan inside until it’s cool enough to handle. Slow cooling is gentler on a fresh coat than a cold countertop, and there’s nothing useful you can do with a 475°F pan anyway. When you pull it out, drag a dry fingertip across the surface: it should feel dry and satin. Tacky means the coat was too thick or the oven too cool — wipe it hard and bake it again.
Step 8: Repeat two or three times
Oil, wipe it all off, bake, cool. Each round adds color — bronze, then brown, then toward black — and each layer builds on the last. Two or three coats make a working surface. Stop there. The final finish comes from cooking, not the oven, and chasing a black mirror with round after round of baking is time better spent frying something.
The science, in plain words
Seasoning is not a layer of oil sitting on the pan. It’s oil that has been polymerized — heated in a very thin film past its smoke point until the fat molecules crosslink into a hard, plastic-like coating bonded to the iron. That coating is what makes cast iron release food and shrug off water. Every rule in the method serves that one reaction.
Why thin beats thick. A thin film gets full access to heat and air and crosslinks all the way through. A thick film skins over on top while staying liquid underneath — varnish over a wet basement. That half-cured layer is exactly how pans turn sticky, and it’s why one heavy coat can undo the work of three good ones.
Why upside down. Oil creeps. Right-side up, it migrates to the low spots — the center of the floor, the seam where wall meets floor — and pools. A pool is a thick coat you didn’t mean to apply. Upside down, anything that moves runs to the rim and drips harmlessly onto the foil.
Why hotter than the smoke point. The smoke point is roughly where an oil starts breaking down, and breaking down is the beginning of crosslinking. Below it — a 350°F oven, say — oil mostly just thickens into soft gum. Above it, it hardens. Most common neutral oils smoke in the 400–450°F range, so 475°F clears the bar with margin for oven thermostats that read optimistic.
Which oil? An honest answer
- Grapeseed, canola, avocado, plain vegetable oil: all fine, and the differences are smaller than the internet makes them sound. Pick whichever is cheap — you’ll use it for every coat and every post-cook wipe.
- Flaxseed oil: famous for a hard, glassy finish, and equally famous for that finish flaking off in sheets a few months later. You don’t need it.
- “Seasoning” pastes and waxes: mostly neutral oil and beeswax in a puck. They work fine and they’re tidy to apply, but there’s nothing in them your pan can’t get from a bottle of grapeseed at a fraction of the price. Convenience, not magic.
- Olive oil, butter, bacon fat: great to cook with, wrong for oven coats — lower smoke points, and butter and bacon fat carry milk solids and salt you don’t want baked in.
When stovetop seasoning is enough — and when it isn’t
There’s a smaller version of this process that happens at the stove: after cooking, wash the pan, dry it on a burner until fully dry and hot, wipe in two or three drops of oil, and buff until it looks dry again. That micro-coat, repeated every time you cook, is how a pan actually gets great — on a healthy pan it’s all the seasoning you ever need. It’s the core of the whole care routine.
Oven coats are for coverage and repair — for when the surface has a problem the stovetop can’t reach:
- Bare metal, after stripping or rust removal
- Scrubbed-back patches where gummy seasoning had to come off
- A dull, blotchy surface that cooking hasn’t evened out
- The walls and the outside — a burner only heats the floor of the pan; the oven heats the entire casting, handle included
The rule of thumb: cooking maintains seasoning; the oven builds it.
New pan? The factory coat is a starting point
Nearly every new pan ships pre-seasoned, and it’s real seasoning — oil applied thin and baked on at the foundry. It’s just young: thin, often gray-brown, a little rough. Don’t strip it, and don’t redo it out of obligation.
Two good options. Cook on it as-is and let use build the surface — favor fat-friendly food early (bacon, cornbread, vegetables roasted in oil) and hold off on long acidic simmers like tomato sauce until the surface darkens. Or give it two oven coats first if it looks dry and pale out of the box. Both paths end at the same pan.
Seasoning isn’t a ceremony, and it isn’t fragile. It’s an hour of oven time when the surface needs building, and a thirty-second habit at the stove every day after that. Run the method above two or three times, then go cook — the pan takes it from there.
FAQ
What temperature do you season cast iron in the oven?
450–500°F. The oven needs to sit above the oil's smoke point so the coat crosslinks into hard seasoning instead of thickening into gum. 475°F for one hour is the standard here: hot enough for any common neutral oil, and well within what a bare pan and a home oven handle without drama.
How many coats of seasoning does a cast iron pan need?
Two or three thin oven coats build a working surface on bare or freshly scrubbed iron. After that, cooking builds seasoning better than the oven does — especially food roasted or fried in a little fat. Don't chase a black mirror out of the oven; it comes with use.
Why do you season cast iron upside down?
So oil can't pool. Right-side up, any low spot collects oil, and pooled oil bakes into a gummy patch instead of hard seasoning. Upside down, gravity pulls any excess to the rim, where it drips onto a sheet of foil on the rack below.
Can I season cast iron with olive oil?
You can, but it's the wrong tool. Olive oil smokes at a lower temperature than grapeseed, canola, or avocado oil, and at seasoning heat it tends toward softer, stickier results. Cook with it in the pan all you like — for oven coats, a cheap neutral high-smoke-point oil works better.